In the world of data science, the biggest hurdle isn't whether artificial intelligence can write code. It's about the "glue work"—the often tedious tasks that connect different pieces of a project. AI models are excellent at generating self-contained code snippets, like a Python script designed to analyze data. However, they often struggle with the less glamorous but essential job of integrating that code into a fully functional application. This is precisely where the concept of a "Vertical Slice" becomes indispensable for the vibe coding workflow.
Understanding Vibe Coding and Vertical Slices
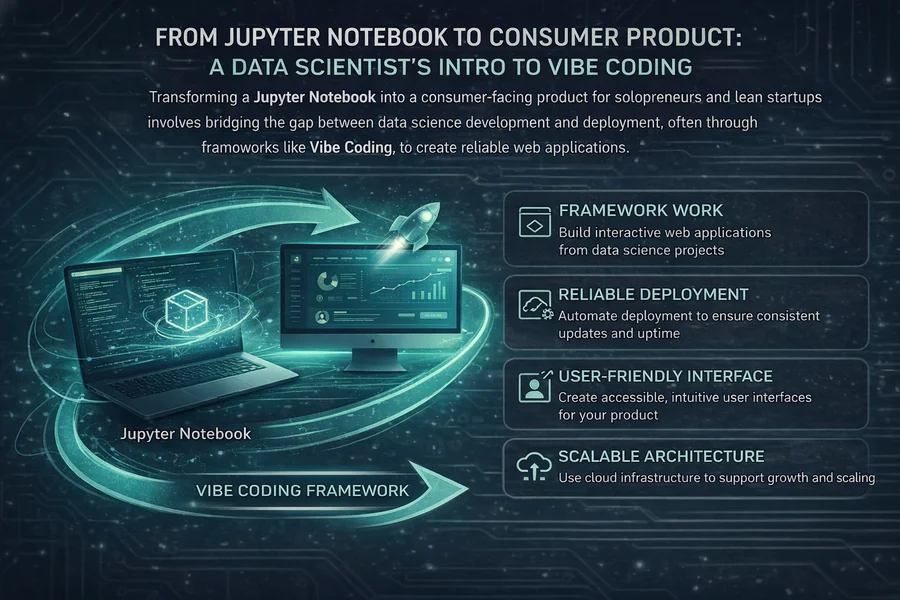
Vibe coding is a methodology that allows data scientists to move beyond just developing models and to start building actual applications. It's about embracing AI as a powerful coding assistant to accelerate the development process, especially when it comes to the integration and connection of various software components. The core idea is to break down a large, complex project into smaller, manageable, and independently working units called "Vertical Slices."
A vertical slice represents a single, complete feature that navigates through all layers of an application. This includes everything from the user interface (UI) that a user interacts with, to the database where information is stored, and finally, the scientific calculations or AI models that power the application's core logic. This approach is fundamentally different from a horizontal development strategy. In a horizontal approach, developers might build the entire backend infrastructure first, followed by the frontend. In contrast, a vertical slice means you deliver a working, albeit minimal, "mini-product" at each stage of development.
This delivery of a functional mini-product at each step is crucial. It immediately validates that the data flow between different parts of the application is working correctly. More importantly, it helps prevent the accumulation of "integration debt." Integration debt refers to the growing complexity and difficulty of connecting different software components over time, which is a common reason why many ambitious solo projects ultimately fail to reach completion.
Consider an example: instead of aiming to build an entire, feature-rich dashboard all at once, you would focus on creating a single vertical slice for "calculating precipitation probability." By narrowing the scope to this specific task, you provide the AI with a much more defined and limited context. This significantly reduces the likelihood of the AI making errors or choosing an inappropriate overall architectural structure for your project. Essentially, you are presenting the AI with a small, solvable puzzle rather than a vast and ambiguous plan, making its task much more manageable and its output more reliable.
Building Your First Vertical Slice
The process of creating a vertical slice involves a systematic approach that leverages AI's strengths while maintaining your control over the project's direction. Here’s a breakdown of the key steps involved:
Begin by identifying a single function from your scientific work that you want to incorporate into an application. It's ideal if this function is "pure." A pure function is one that consistently produces the same output for the same input and has no side effects on the system. These functions typically accept well-defined inputs, such as geographical coordinates or specific datasets, and return structured results, often in formats like JSON or a simple list. This chosen function will serve as the central piece of your vertical slice.
Next, set up a backend route or endpoint within your chosen web framework. This route needs to be configured to accept the necessary inputs for your selected function. It will then trigger the execution of your script. This step involves creating the "binding layer" that connects the web request to your scientific code. For systems like Node.js, this often means setting up a mechanism to safely run your Python code in a separate process, ensuring that any potential issues in the script don't destabilize the main application.
The third step is to build a basic user interface (UI). This UI should include a simple form where a user can enter the required inputs for your function. It also needs an area to display the results returned by the function. At this initial stage, the primary goal is to make the feature functional, not necessarily aesthetically pleasing. The focus is on demonstrating that a user can initiate a calculation and clearly see the outcome on their screen, validating the end-to-end process.
CRISP: Prompting Like a Senior Engineer
The final, and arguably most critical, component of effective vibe coding is how you communicate with the AI. Vibe coding does not equate to providing vague or ambiguous instructions to the AI. Loose requests, such as simply asking the AI to "make this work," often result in equally vague and difficult-to-maintain code that is prone to breaking. To generate reliable code that is genuinely ready for production, you must structure your prompts as precise, mini-specifications.
This is where the CRISP framework comes into play. CRISP transforms your AI interaction from a casual request into a powerful engineering collaboration. By meticulously defining the AI's task with the right background information and specific constraints, you ensure that the generated code aligns precisely with your project's existing architecture and requirements, rather than just producing generic, unattached code. The CRISP framework is designed to eliminate confusion and maximize the AI's utility as an engineering assistant.
Here's how the CRISP framework guides your prompts to ensure clarity and effectiveness:
- Context: This sets the stage by explaining the overall project setup. You should describe the system you are using, the specific frameworks in play, and the location of important files or directories.
- Role: Assigning a role helps the AI adopt a specific perspective and level of expertise. You can ask it to act as a senior engineer, a security specialist, user a UI designer, or any other relevant persona.
- Input: This section involves providing the AI with the actual code snippets, detailed function signatures, or data structures it needs to work with.
- Steps: Break down the task into a clear, ordered list of actions. This sequential approach helps the AI understand the process flow.
- Parameters: Define the rules and constraints for the output. This includes specifying how errors should be handled, setting performance goals, or dictating specific tools or libraries.
Let's illustrate this with a practical example. The core scientific logic needs to be integrated into a live web application:
# src/calculations/weather_model.py
def predict_precipitation(pressure_hPa, temperature_celsius):
    # Complex scientific computation...
    result = pressure_hPa * 0.05 + (temperature_celsius * 2) * 0.01
    return {"precipitation_mm": round(result, 2)}
Instead of using a vague prompt, use a detailed CRISP prompt:
Context: I am building a web app using the Wasp framework with a Node.js backend. I have a Python script located at src/calculations/weather_model.py that I need to expose via an API. The application uses Tailwind CSS for styling.
Role: Act as a Senior Full-Stack Developer experienced in securely bridging Node.js and Python, with expertise in Wasp and backend performance optimization.
Input: The Python function signature is: def predict_precipitation(pressure_hPa, temperature_celsius):. This function expects two numerical arguments and returns a JSON dictionary in the format {"precipitation_mm": 12.5}.
Steps:
- Define Wasp Query: In the main.wasp file, define a new Wasp query named `getPrecipitationPrediction` exposed as a GET request at `/api/predict/precipitation`.
- Implement Node.js Handler: Implement the handler to receive `pressure` and `temperature` from query parameters.
- Add Input Validation: Ensure parameters are present and valid numbers. Throw a descriptive 400 error if validation fails.
- Call Python Script: Use `child_process.spawn` to execute `src/calculations/weather_model.py` with the validated values.
- Capture and Return Result: Parse stdout as JSON and return the prediction.
- Implement Error Handling: Manage script errors, timeouts, and stderr output gracefully.
Parameters: The solution must be non-blocking. Error messages should be clear and user-friendly. UI elements must use Tailwind CSS.
This level of detailed prompting leaves the AI with virtually no room for interpretation or error.
For more advanced scenarios like long-running simulations:
Context: My `run_monte_carlo_sim.py` script is computationally intensive and often takes over 60 seconds to complete, causing API timeouts.
Role: Act as a Senior Backend Architect specializing in scalable application design.
Steps: Do not implement as a synchronous API call. Instead, propose a solution leveraging Wasp's background jobs to run the script asynchronously. Design the UI to poll for job status and display results upon completion.
Conclusion: From Vibes to Production-Ready Applications
Vibe coding offers a powerful methodology to significantly accelerate your development process, but it's crucial to understand that it is not a "no-code" solution. It's a "high-impact code" solution. Use vibe coding to rapidly construct a vertical slice—a fully functional piece of your application—and get it into the hands of users.

No comments yet
Be the first to share your thoughts on this article!